Transforming your living space into a stylish and functional area has never been easier with a DIY pallet bar. Whether you're a seasoned DIY enthusiast or a beginner, creating your own pallet bar is an exciting project that combines creativity, sustainability, and practicality. In this article, we'll explore everything you need to know about designing, building, and decorating your very own pallet bar.
A pallet bar is not just a piece of furniture; it's a statement of personal style and eco-conscious living. By repurposing wooden pallets, you can create a unique bar that adds character and charm to your home. This project is perfect for those who want to upcycle materials while enjoying the satisfaction of crafting something by hand.
In the following sections, we'll delve into the tools, materials, and techniques required to build a DIY pallet bar. From choosing the right pallets to finishing touches, this guide will walk you through every step of the process. Let's get started!
Read also:Unraveling The Mystery Is Kate Jackson Still Alive
Table of Contents
- Introduction to DIY Pallet Bar
- Benefits of a DIY Pallet Bar
- Choosing the Right Materials
- Essential Tools for Building
- Designing Your Pallet Bar
- Step-by-Step Construction Guide
- Finishing Touches for Your Pallet Bar
- Maintaining Your Pallet Bar
- Customizing Your Pallet Bar
- Cost Considerations
- Frequently Asked Questions
Introduction to DIY Pallet Bar
Why Choose a Pallet Bar?
DIY pallet bars have gained immense popularity due to their rustic charm and eco-friendly nature. Pallets, which are often discarded after shipping, can be transformed into stunning furniture pieces with a bit of creativity and effort. By choosing a pallet bar, you're not only reducing waste but also adding a touch of rustic elegance to your home.
Popularity of Pallet Furniture
The trend of using pallets for furniture has skyrocketed in recent years. According to a report by Statista, the global market for upcycled furniture is expected to grow significantly, driven by increasing consumer awareness of sustainability. Pallet bars are a prime example of how upcycling can result in beautiful and functional furniture.
DIY as a Lifestyle
DIY projects are more than just a hobby; they're a lifestyle choice. Engaging in DIY activities allows you to express your creativity, save money, and reduce your carbon footprint. Building your own pallet bar is a rewarding experience that combines all these benefits.
Benefits of a DIY Pallet Bar
Creating a DIY pallet bar offers numerous advantages, from cost savings to environmental benefits. Below are some key benefits:
- Affordable: Pallets are often free or inexpensive, making this project budget-friendly.
- Eco-Friendly: By repurposing pallets, you're contributing to waste reduction and sustainable living.
- Customizable: You can tailor the design and size of your pallet bar to fit your space and personal style.
- Unique Design: A pallet bar adds a distinctive and rustic look to any room.
- Personal Satisfaction: Building your own furniture provides a sense of accomplishment and pride.
Choosing the Right Materials
Types of Pallets
Not all pallets are created equal. When selecting pallets for your DIY project, consider the following:
- Heat-Treated Pallets: These pallets are safer to use as they are heat-treated to eliminate pests and chemicals.
- Untreated Pallets: Avoid pallets that have been chemically treated, as they may contain harmful substances.
- Grade and Condition: Choose pallets that are in good condition with minimal damage.
Additional Materials
Besides pallets, you'll need the following materials:
Read also:Exploring The Journey Of 90 Days Fianc Gino Love Challenges And Reality
- Wood screws
- Wood glue
- Sandpaper
- Paint or stain (optional)
- Bar stools or seating
Essential Tools for Building
To successfully complete your pallet bar project, you'll need the right tools. Here's a list of essential tools:
- Power Drill: For assembling the pallet pieces.
- Circular Saw: To cut pallets to size.
- Screwdriver: For tightening screws.
- Measuring Tape: To ensure accurate measurements.
- Level: To ensure your bar is straight and stable.
Designing Your Pallet Bar
Planning Your Space
Before you start building, it's crucial to plan your space. Consider the following:
- Dimensions: Measure the area where you plan to place your bar.
- Layout: Decide on the layout and shape of your bar (L-shaped, straight, etc.).
- Height: Ensure the bar height is comfortable for standing or sitting.
Sketching Your Design
Creating a sketch of your pallet bar design can help visualize the final product. Include details such as shelving, counter space, and storage options.
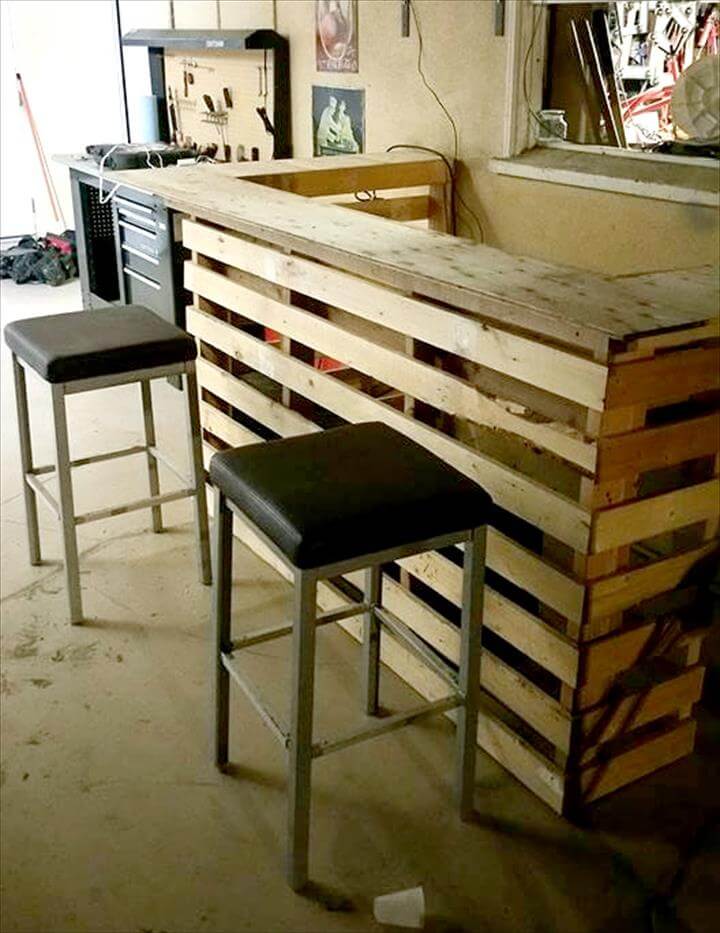
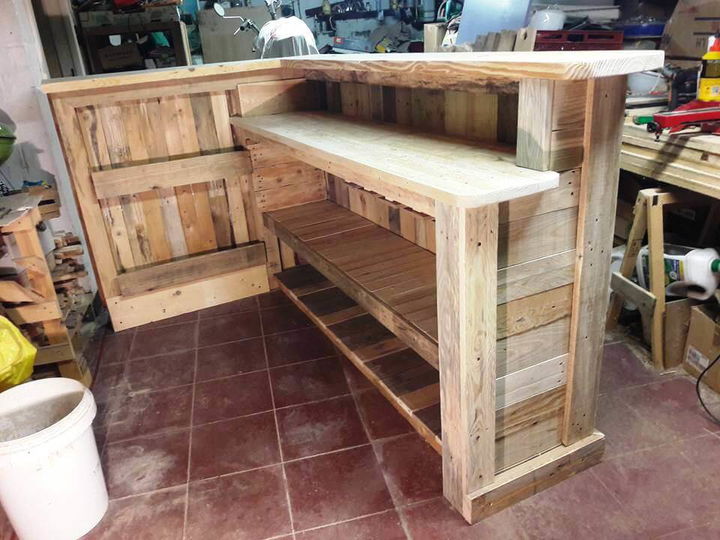
Step-by-Step Construction Guide
Step 1: Preparing the Pallets
Start by dismantling the pallets and separating the wood pieces. Remove any nails or splinters to ensure safety.
Step 2: Cutting the Wood
Using a circular saw, cut the pallet wood to the desired dimensions for your bar. Ensure all pieces are uniform in size.
Step 3: Assembling the Frame
Use wood screws and glue to assemble the frame of your pallet bar. Begin with the base and work your way up.
Step 4: Adding Shelves and Countertop
Install shelves and a countertop for storage and serving. Ensure everything is securely attached and level.
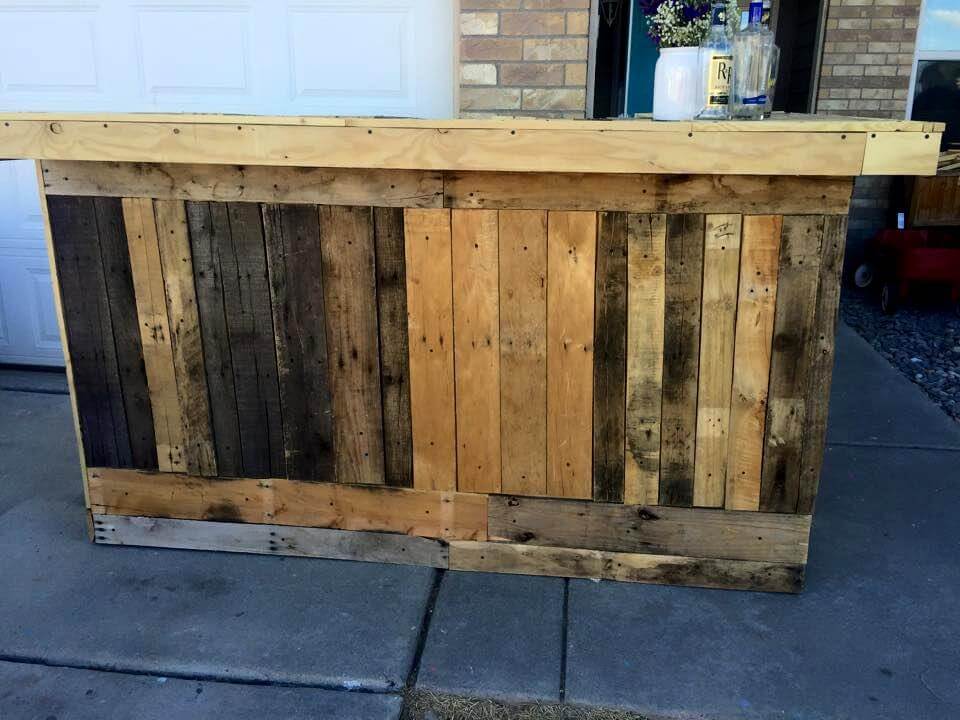
Step 5: Finishing Touches
Sand down any rough edges and apply paint or stain if desired. Allow the wood to dry completely before use.
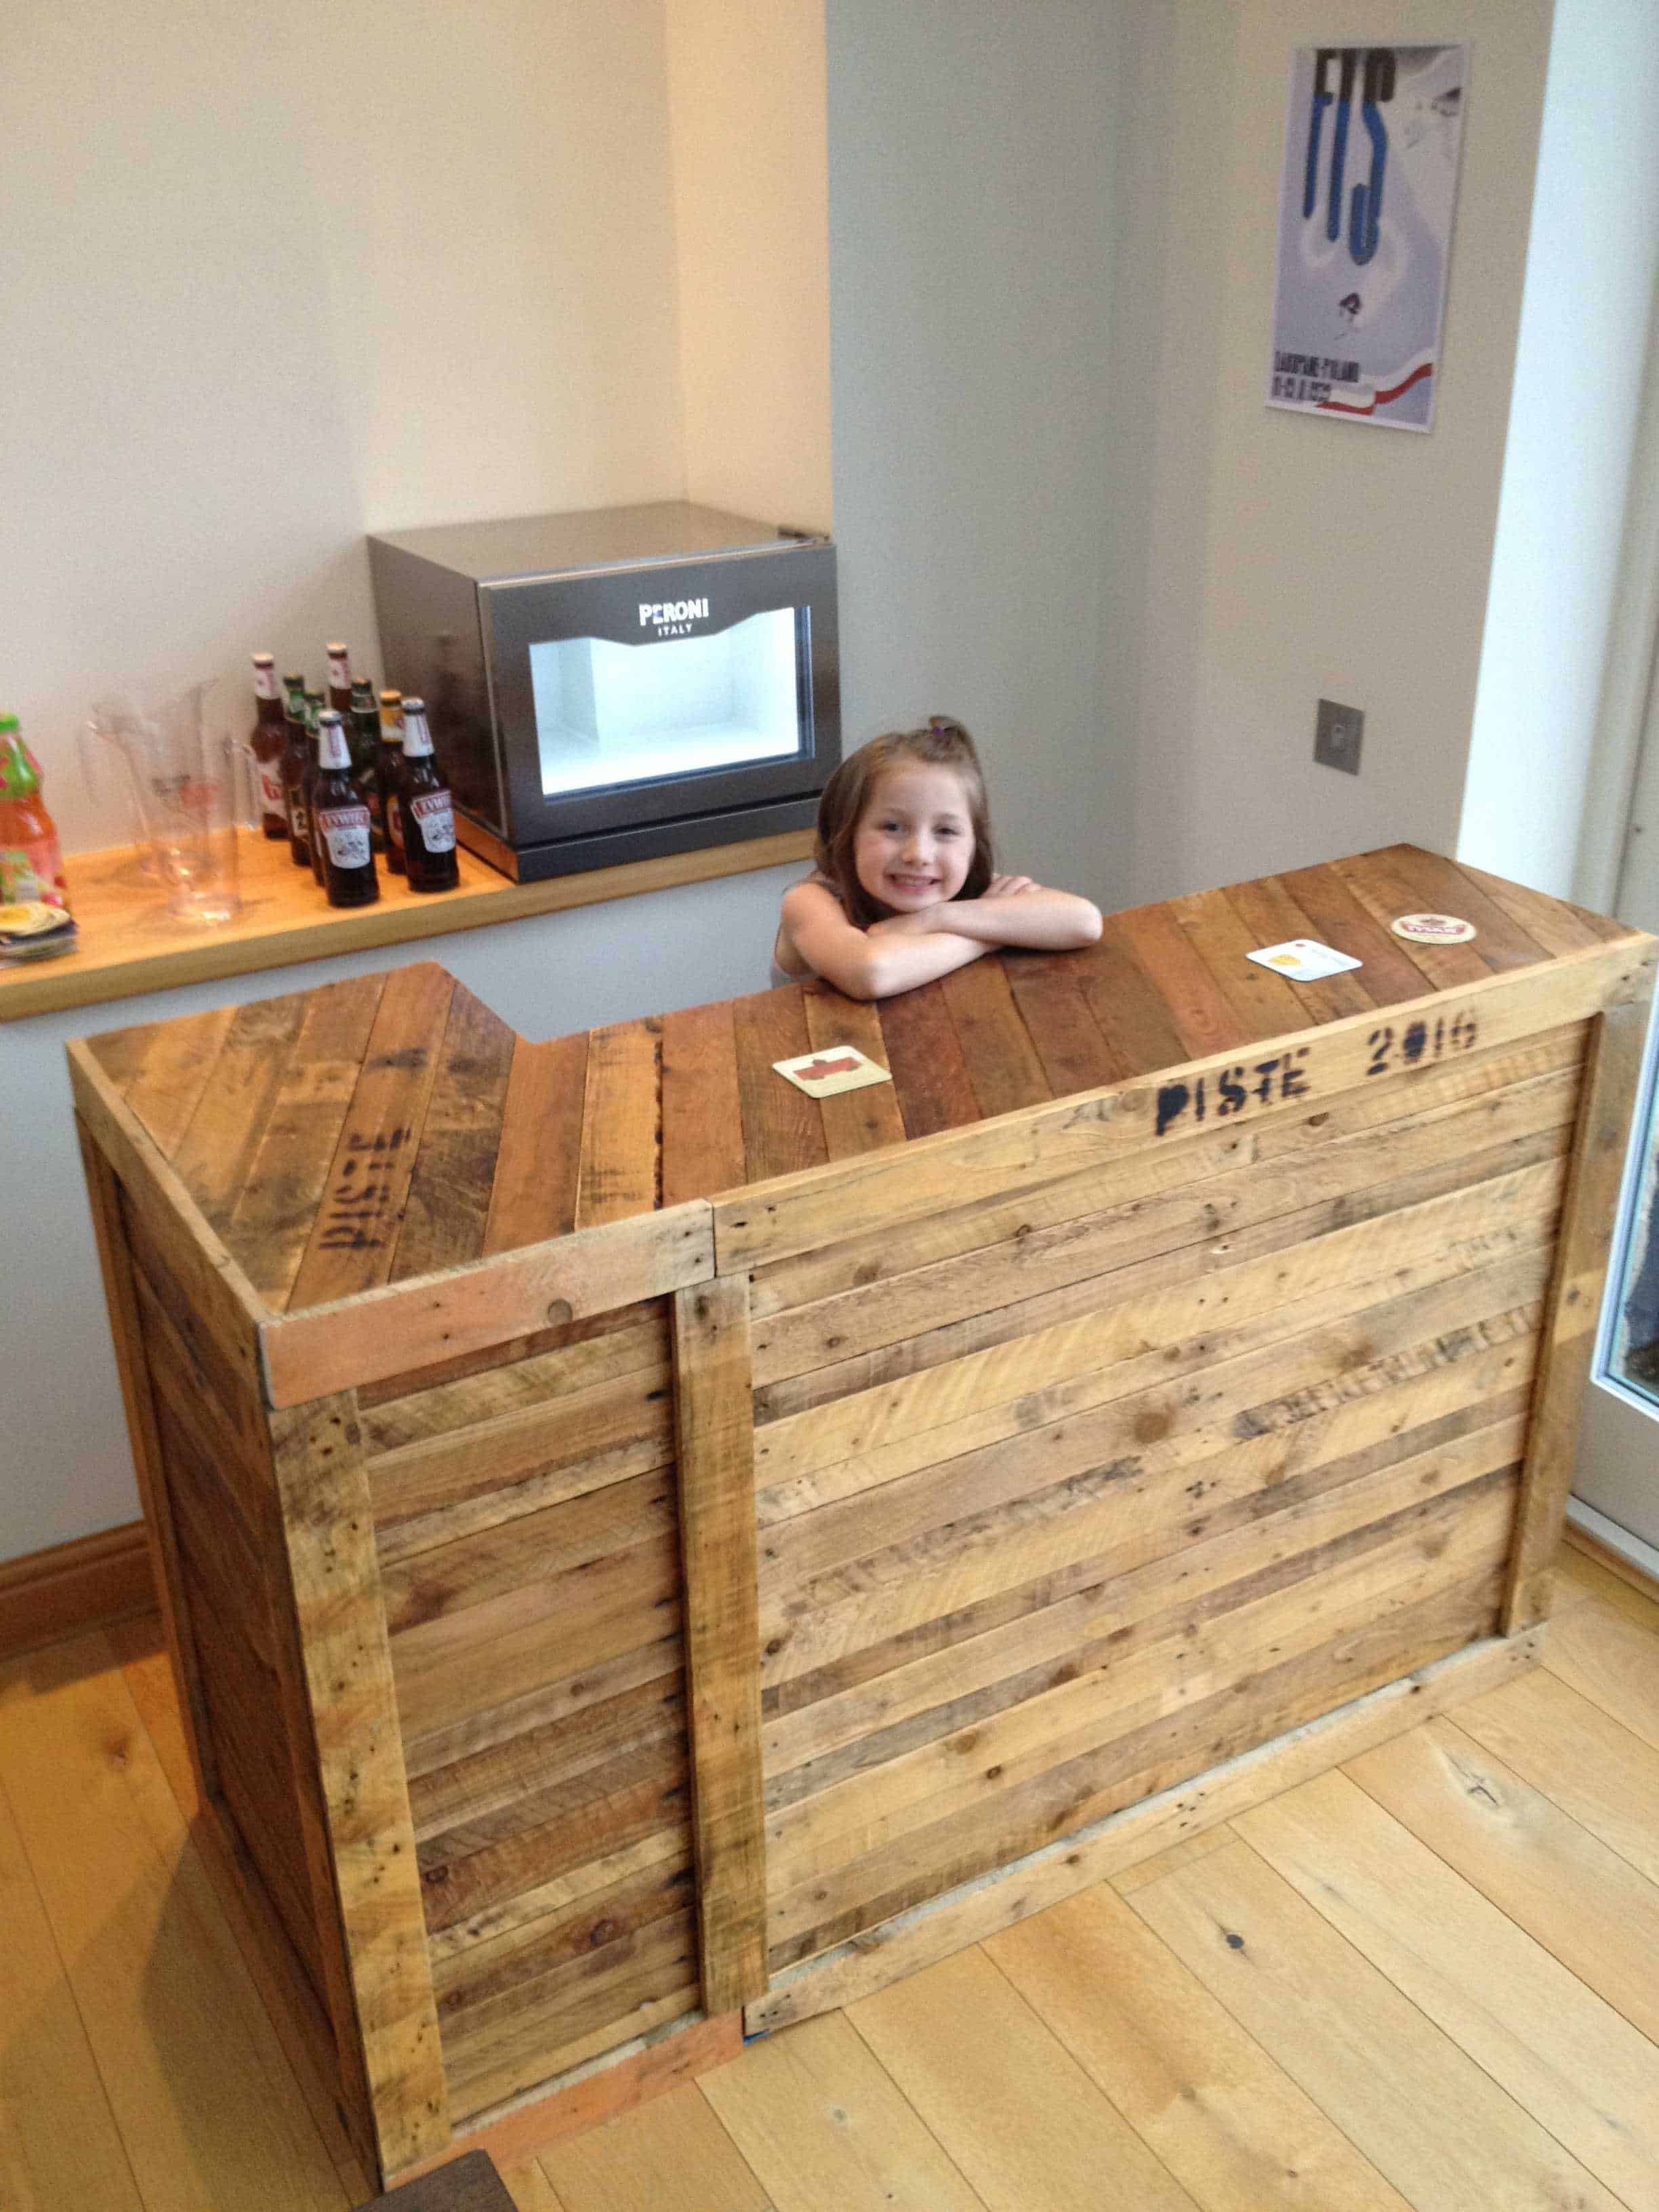
Finishing Touches for Your Pallet Bar
Decorating Your Bar
Once your pallet bar is built, it's time to decorate. Consider adding:
- String lights for ambiance
- Glassware and decor pieces
- Personalized signs or artwork
Sealing the Wood
To protect your pallet bar from wear and tear, apply a wood sealant. This will enhance its durability and longevity.
Maintaining Your Pallet Bar
To keep your pallet bar looking its best, follow these maintenance tips:
- Regularly clean the surface with a damp cloth.
- Reapply sealant as needed to protect the wood.
- Inspect for any loose screws or structural issues.
Customizing Your Pallet Bar
Adding Personal Touches
Customize your pallet bar to reflect your personal style. Options include:
- Painting with vibrant colors
- Installing built-in wine racks
- Adding a chalkboard surface for notes or menus
Storage Solutions
Incorporate storage solutions such as shelves, drawers, or hooks to keep your bar area organized and functional.
Cost Considerations
Building a DIY pallet bar can be cost-effective, but there are some expenses to consider:
- Pallets: Often free, but may require cleaning or treatment.
- Tools: If you don't already own the necessary tools, they may be a significant investment.
- Finishes: Paint, stain, and sealant can add to the overall cost.
Frequently Asked Questions
How Long Does It Take to Build a Pallet Bar?
The time required depends on your skill level and the complexity of the design. On average, it takes 1-2 days to complete a basic pallet bar.
Are Pallet Bars Durable?
Yes, pallet bars can be very durable if constructed properly and maintained regularly. Using high-quality materials and sealants can enhance their longevity.
Can I Use a Pallet Bar Outdoors?
While pallet bars can be used outdoors, it's essential to treat the wood with weatherproof sealants to protect it from the elements.
Conclusion
Building a DIY pallet bar is a fulfilling and eco-friendly project that can enhance your home's aesthetic and functionality. By following the steps outlined in this guide, you can create a unique and personalized bar that reflects your style and values. Remember to plan carefully, choose the right materials, and take your time to ensure a high-quality result.
We encourage you to share your pallet bar project with us in the comments below. If you enjoyed this article, don't forget to explore our other DIY guides and tips for home improvement. Happy building!